Wargame Map
There is a lot of administration when one campaign phase ends and I have to prepare for the next one. It can take a couple of weeks to complete, and during that time we don’t have a wargame on the table to play. We are used to having a couple of moves most days, so this can be annoying. And particularly at this time of year when it can be very hot here in Spain, and we rely more on our wargaming than during the cooler months.
This time I have decided to have a one off fun game, very loosely based on Waterloo. It is many years since we last did this, and we both quite liked the idea of a game outside the constraints of the 1813 campaign.
I would stress that this is not a wargame of Waterloo. The terrain is wrong, the buildings are wrong , the orders of battle is wrong, the whole concept is wrong. It is just a fun game inspired by the famous battle
We used the same scenic boards and corps organisation as in our 1813 campaign, but the British corps do not have their Portuguese infantry brigades. The order of battle is:
Brigades French British
Infantry 12 9
Cavalry 3 3
Artillery 3 3
The game would last our usual 12 moves, each move representing one hour.
The French objective was to take the cross roads

Table at start of game
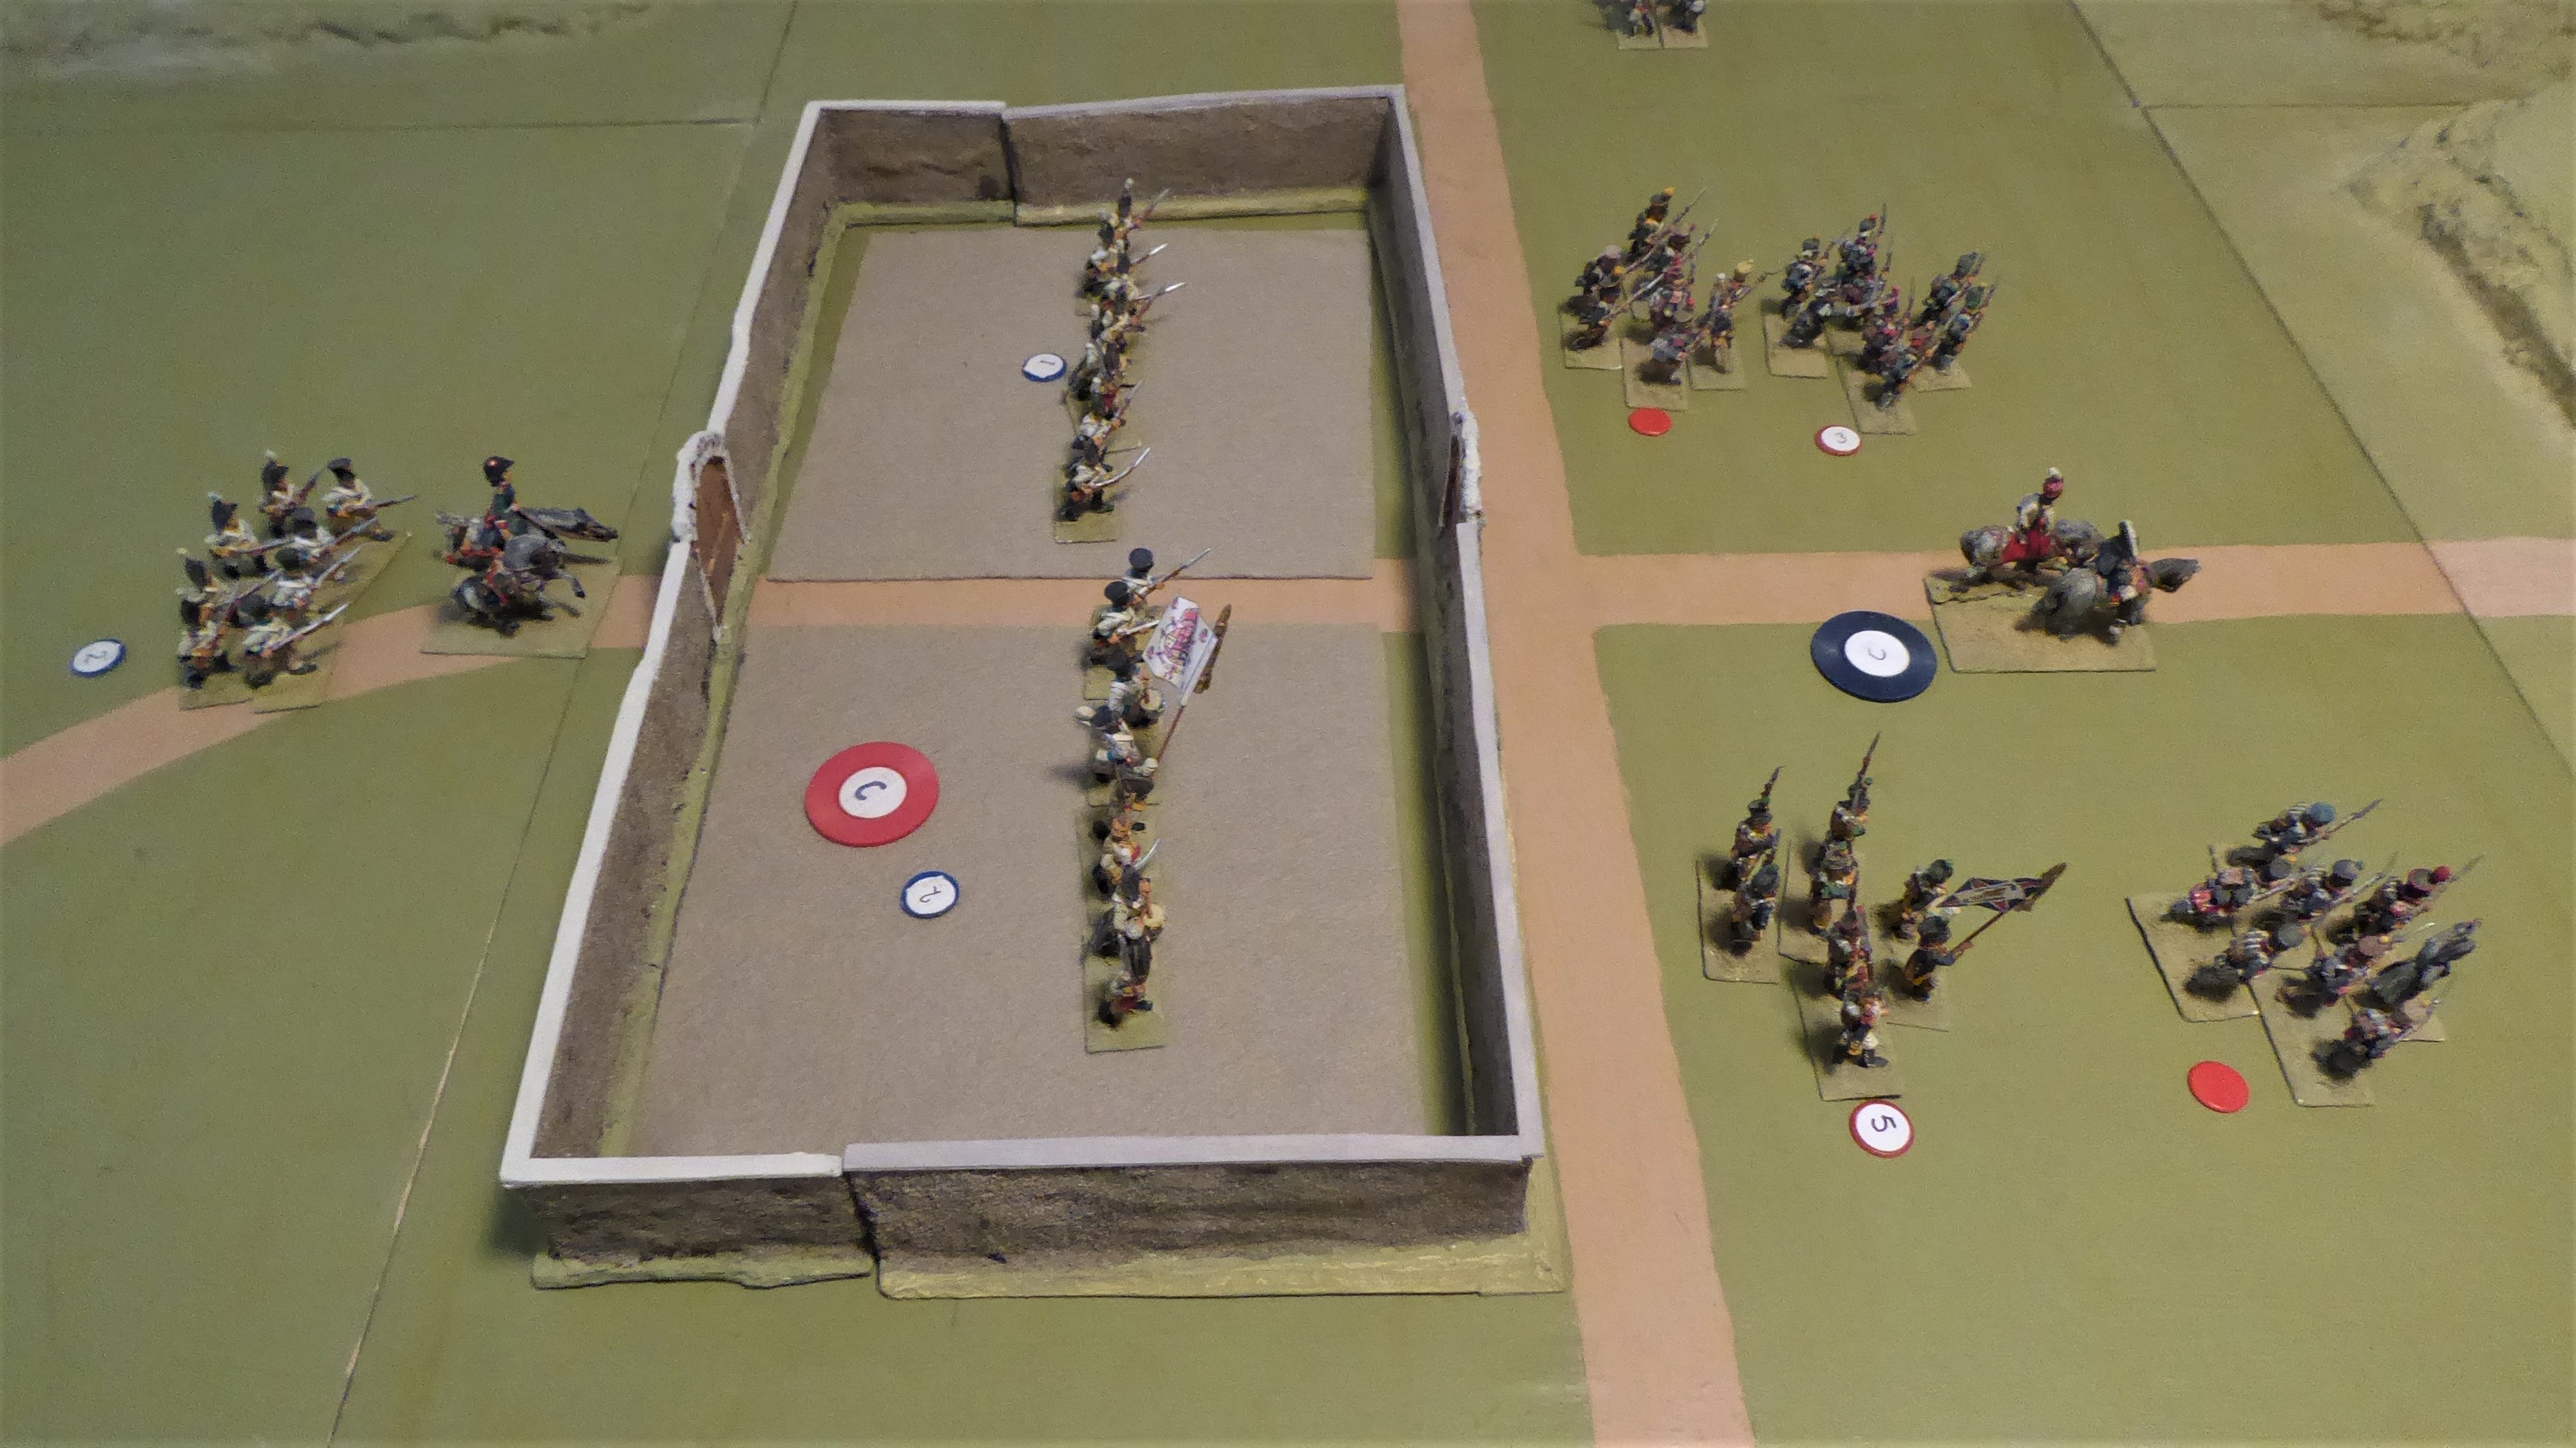
The British are deployed on the left , with one infantry brigade in each of the three fortified farms to their front. Wellington is centre rear. He does not command any troops, but can take command of any brigade by moving into base contact with them
The French are deployed in column of march on the right. Napoleon is centre rear and can also take command of any brigade by moving into base contact.
Both armies are out of artillery range at the start of the game.

The French advanced their artillery to short range of the three buildings. These were held by elite British brigades, and supported by their artillery. The French artillery were in place by the end of move one, but it would be move 6 before they inflicted sufficient casualties on the garrisons for the French infantry to attack and take them. There were then only six moves left for the French to take the cross roads.

The British artillery dominated the open area between the three buildings. The French cavalry were sent forward to cover the massed infantry attack. Two of the three French brigades were broken by the artillery fire and by British cavalry counter attacks. By the end of move 10 the cavalry on both sides were withdrawn.
On the left the 4th French corps took the ridge behind Hougoumont. Only one of the four British brigades remained formed, and they covered the retreat of the rest of 1st British corps
On the right 3rd French corps took the ridge and routed all of 3rd British corps. They were then able to move infantry and artillery to support the main attack in the centre.
1st French (Guard) corps advanced to take the cross roads. This was the most heavily defended area of the whole table, and they suffered heavy casualties. By the end of move eleven all three French artillery brigades were firing on the cross roads. The Guard infantry suffered heavy casualties, but managed to rout 4th British corps. At night fall the only one British infantry brigade remained to cover the retreat.
Comment
This wargame was never intended to be a serious refight of Waterloo. The table paid only a passing resemblance to the actual battlefield. The orders of battle were nothing like either Wellington or Napoleon armies. The rules were our standard campaign wargame rules, designed to provide a fast, fun game.
Despite this the course of the battle was similar. The three villages held up the French for half of the game. The French took the high ground either side of the cross roads, but struggled to take the centre. In fact during the closing phase of the game it looked like they would run out of time and fail to take their objective.
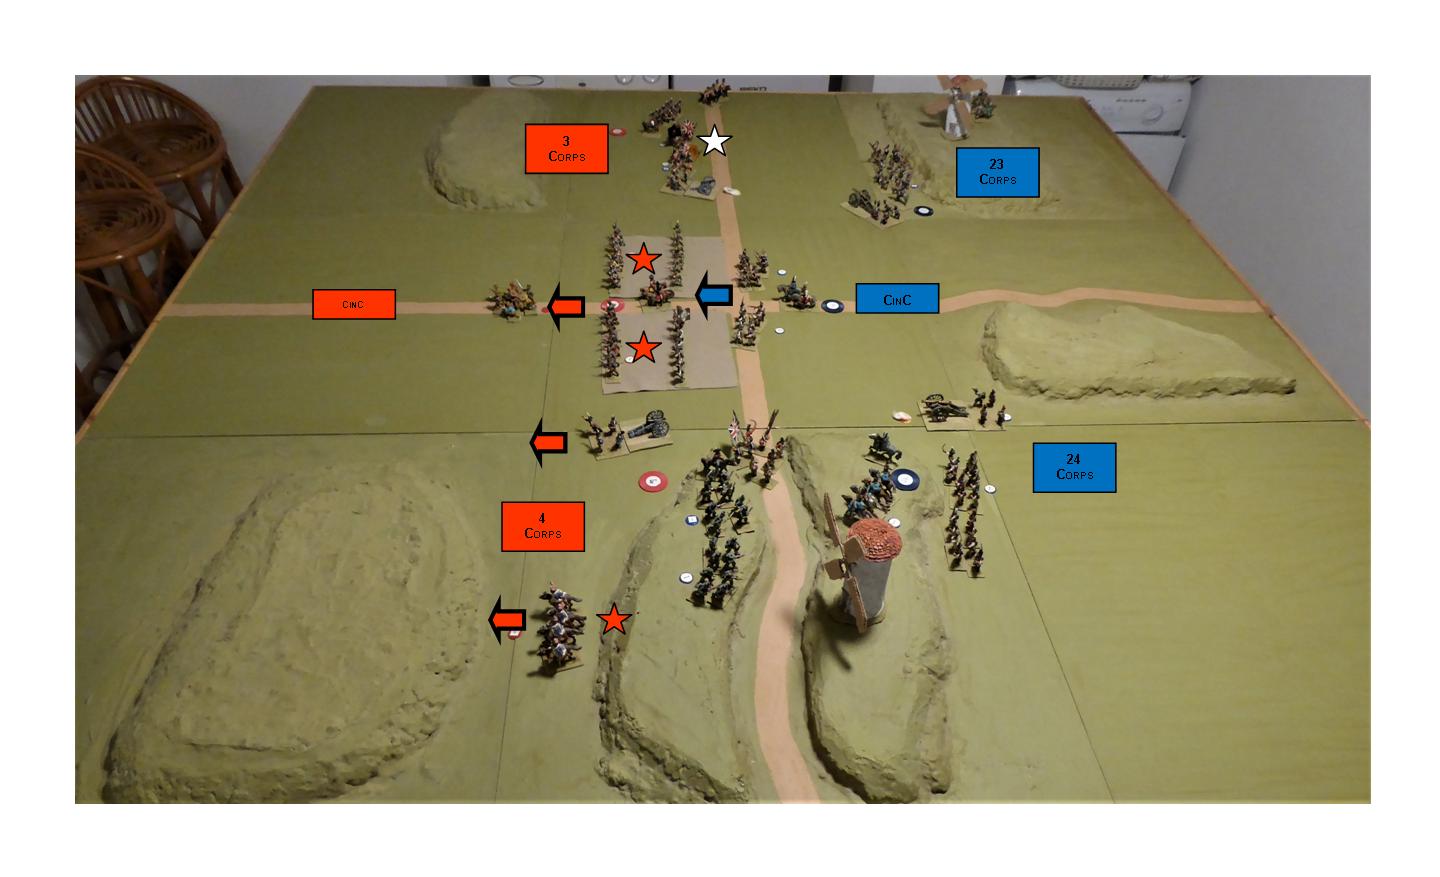
The stars on the photograph indicate brigades in rout. The French has four, compared to fourteen British brigades. However this is a reflection of how our wargame rules work, rather than a complete French “walk over”. To create a clear winner my rules rely heavily on morale. As the battle develops both sides suffer casualties, which in turn reduce their ability to survive a morale check. When one brigade does rout, all friendly brigades within 4” have to test their own morale. Quite often one or more will join the rout. This in turn forces other friendly brigades within supporting distance to test their own morale.
This was a really enjoyable game. It was nice not to have to consider the consequences of the outcome, and therefore to just fight to the end. Not sure I would want to play too many games like this, but it was a nice way to cover the gap between the end of one campaign and the start of the next.