Sunday, 9 May 2021

Branau Campaign – Day 4


3 April 1813 – Southern Germany – Day 4


A much needed day of rest, regrouping, reorganisation and resupply

In the north Bavarians deploy at Falkenburg, reorganise and resupply

Austrians set up new depot at Bayerbach, reorganise and resupply


In the centre Bavarians retreat having lost the battle of Branau

Austrians occupy Branau and set up a new depot


In the south Bavarians regroup, reorganise and set up depot at Eggelsberg

Austrians regroup at Mauerkirchen and resupply


Comments

After three days and four battles both armies are urgently in need of rest, reorganisation and resupply.   All twelve corps start the day with just one days supply.


To resupply they have to be within three squares of a depot, not in contact with the enemy and halted for the day.   All corps are within range, but the depots do not have sufficient supplies to bring each corps up to four days.  


Reorganisation is used to make each corps operational and battle fit.  To reorganise a corps must be in supply, halted for the day and not in contact with the enemy.  There are three elements in reorganising.


First all routed and shaken brigades rally

Second all infantry casualties can be transferred to one brigade, less 10%.  

Third each corps receives reinforcements of 10% of one brigade.  


Casualties affect the morale and combat effectiveness of a brigade.   Each 10% results in minus 1 on morale, combat and firing charts.  


Reorganisation concentrates most of the infantry casualties in one brigade, which in effect takes no further part in the campaign.   It also allows the remaining brigades to quickly become effective again.  However by leaving 10% casualties with the brigade for the remainder of the campaign, it also reduces their morale and combat ability. 


The aim is to allow a badly damaged corps to recover quickly to be able to take part in the campaign.   However it will never be fully effective until the next campaign phase.  

Sunday, 2 May 2021

Branau Campaign – Day 3


2 April 1813 – Southern Germany – Day 3

By the end of today all 12 corps will be reduced to one days supply

In the north 7th Bavarian army retreat having lost the battle of Bayerbach

1st Austrian army occupy Bayerbach


In the centre both 8th Bavarian army and 2nd Austrian army attack Branau


In the south 3rd Austrian army retreat having lost the battle of Eggelsberg

Battle of Branau at start of game

The fortified city of Branau dominates the centre of the table

It is unoccupied at the start of the game

Entry is only possible through one of the four gates


Both commanders took command of a reserve of two brigades each

They carried out the battle for the city, which ended with the Austrians in control


The Austrians won the battle fought north of the city

The Baden corps lost four brigades in rout and retreated


The battle south of the city was a draw

But the Bavarian corps had to withdraw having lost the city and northern wing


The Bavarians lost 4100 men and four brigades in rout

The Austrians lost 2600 men and one brigade in rout


Comments

Both armies were close to the city at the start of the game.

Neither side had any advantage in numbers or fighting ability

Both created a reserve of two infantry brigades to fight for the city

The result was a fast and enjoyable wargame, which was decided by the luck of the dice.   Both sides had an equal share of good and bad dice.   But the Austrian good dice came at the right time, the Bavarian at the wrong time.

After three days and four battles the campaign has now reached an interesting stage.   Both armies are low on supplies and should pause to resupply and reorganise. 

However although both armies appear to be in a similar situation it is not necessarily the case.   A lot depends on the exact distribution of casualties in each corps.    Also the ease with which each corps can resupply, the distance from the nearest depot and how many days supply in that depot can make a huge difference.

And finally the balance of these circumstances may make it advantageous for one army to risk a battle, and the possibility of running out of supplies, to gain a temporary advantage.

Until I update the campaign map, orders of battle and supply status I will not know

Sunday, 25 April 2021

Branau Campaign – Day 2


1 April1813 – Southern Germany – Day 2

In the north 1st Austrian army attack 7th Bavarian army at Bayerbach

In the centre 2nd Austrian and 8th Bavarian armies deploy at Branau

In the south 3rd Austrian and 9th French armies fight a second day at Egelsberg

Battle of Egglesberg move 4


Battle of Egglesberg – Day 2

During the night routed brigades were removed

Everyone else was allowed to redeploy within the square they were in

None were allowed to move closer to the enemy

The French held the southern half of the town, the Austrians the northern half

The Austrians were allowed to fully occupy their half

The battle started with both sides in very close contact


On the left the French infantry advanced

The Austrian cavalry moved forward to charge them

But the supporting French cavalry counter charged

The Austrians lost the melee and routed

This allowed the French infantry to continue their advance


In the centre the French guns were within close range of the enemy held half of the town.    As soon as they opened fire, the Austrian infantry started to withdraw.   But they suffered too many casualties, broke and ran.


On the right the French infantry entered the woods

As they neared the northern edge of the woods they were attacked by an elite jager brigade.   The French won the melee and the jagers routed, taking a landwehr brigade in reserve with them.


By lunchtime the French held all of the town and the woods

The Austrian commander ordered his army to break contact and retreat.

Battle of Bayerbach move 12

 Battle of Bayerbach

9th Bavarian corps held the town at the start of the game

They sent two of their four infantry brigades to garrison the town

The rest of the corps deployed to the right of the town


10th Bavarian and 1st and 2nd Austrian corps all arrived at the start of the game


1st Austrian corps artillery bombarded the town at short range

Two infantry brigades then stormed north Bayerbach

They quickly routed the two Bavarian brigades in the town

However they were unable to take south Bayerbach

10th Bavarian corps took and held the southern half of the town

2nd Austrian corps attacked the remainder of 9th Bavarian corps

They won the initial cavalry melee and forced the Bavarian infantry into square

The much stronger Austrian corps quickly broke and routed the rest of 9th corps


Comments

Most unusual to have two battles in one day


Day two of Egglesberg opened with both sides in close contact

The battle was quickly decided and ended in a French victory


Bayerbach was a much more interesting battle.

9th Bavarian corps was outnumbered by 1st and 2nd Austrian corps

They had to hold both halves of the town

This allowed the Austrian artillery to fire on the garrison at close range

An infantry attack quickly routed the two Bavarian brigades in the town


The arrival of 10th Bavarian corps brought balance to the battle

They quickly took south Bayerbach and held it until nightfall


9th Bavarian corps lost two infantry brigades in the town]

The rest of the corps was outnumbered by 2nd Austrian corps

They suffered heavy casualties and four of their six brigades were routed


Having to fight two battles in one campaign day meant we spent more time than usual at the wargames table.   Each battles takes about a week to wargame.  So there was a two week break from the campaign, which is a long time.


I would much prefer to fight just one battle each campaign day.   The campaign is still fresh in my mind when I transfer the result back to the campaign map.


But Egglesberg was too close to call at the end of the first day of battle.  I felt it was right to fight a second day, even though I expected that it would not last long.


I could have delayed Bayerbach to day three of the campaign.  But there was no sound campaign reason to do so.   Common sense might well suggest that it really didn’t matter, as it is a solo campaign. 


But it is important to me that both each battle/wargame and each campaign day make sense and react to defeats and supply problems.   Otherwise there would be no sense if running the campaign in the first place.


Sunday, 18 April 2021

Branau Campaign – Day 1


31 March 1813 – Southern Germany – Day 1

In the north 7th Bavarian army take Bayerbach by a surprise attack

1st Austrian army deploy to counter attack

In the centre 11th Bavarian and 2nd Austrian armies approach Branau

Both halt in order to deploy and fight

In the south 9th French and 3rd Austrian armies fight the battle of Egglesberg.

The result is a draw, neither side will retreat and fighting will continue on 1 April

End of move 12

Battle of Egglesberg

5th Austrian and 17th French corps opened the battle

6th Austrian and 18th French corps would not arrive until the start of move 9


At nightfall fighting for the town was undecided

Both 5th and 17th corps had lost one infantry brigade each

Neither 6th nor 18th corps had been committed to the battle


The result of the battle was a draw.  

Casualties were even and neither side controlled the town

Both sides had a fresh corps ready to fight at daybreak

Neither side would retreat, so fighting would continue at daybreak


Comments

A draw is very unusual, and a second day battle even more so.

But this was an unusual wargame.


The Austrians halt further from the town than the French

The French occupied the southern half of the town

They then send a second brigade to take the northern half

Their artillery deployed within close range of the disputed northern half

This would make it very difficult for the Austrians to occupy the northern half


Instead they placed two brigades behind the northern half of the town

They were out of sight of the French artillery, who could not fire on them


For the first 11 moves the French approached and then entered the town

Their artillery fired on the Austrian infantry, and routed one brigade

The Austrian artillery could not fire on the southern half of the town

They were out of range of the French infantry

At the end of move 11 the French occupied the southern half of the town

Their infantry were approaching the northern edge of the town

The elite Austrian jager brigade advanced and attacked the French infantry

They won the melee and the French routed


At nightfall neither side could claim possession of the town

Both sides had considerable troops available to continue the battle

Both sides had suffered similar casualties

Neither side wanted to retreat and accept defeat

The battle would continue at daybreak

Sunday, 11 April 2021

Campaign in Bavaria


Map of Germany

For the next campaign phase we move back to Germany from Spain.   This one will take place in southern Germany around the city of Branau, in the Danube valley.

Each of the five geographical regions have their own advantages, but I don’t really have one favourite.  However I do like the uniforms of the Bavarian and Austrian armies.   They make a nice change from the standard French dark blue.

Map of Branau district

This will be the second campaign phase using the new six corps per side

 They are divided into three armies of two corps each.   This ensures that each game has at least two corps per side, a big improvement over the previous one corps per side.   It makes for more challenging and interesting wargames.

 It also allows me to manage the campaign much easier.   The map is divided into nine towns, each town being a wargames table.   At the start of the campaign the Bavarians occupy the three towns on the left, the Austrians the three on the right.    The three in the centre will be the site of the opening battles.

By restricting each battle of one town each day I can ensure that there is no delay between battles, and consequently games.   For example let’s say the first one is in the north on day one.   On day two the loser retreats, and the battle for the centre towns takes place.   On day three the corps involved in day one regroup and resupply, the loser in the centre retreats and the two in the south fight their battle.  

It will not always work in that sequence.   I may want to combine corps from other armies to make larger battles.  Or due to logistics it may not always be possible to fight a battle on every single day.   But I should be able to provide a battle most days at least.

1st Austrian Army

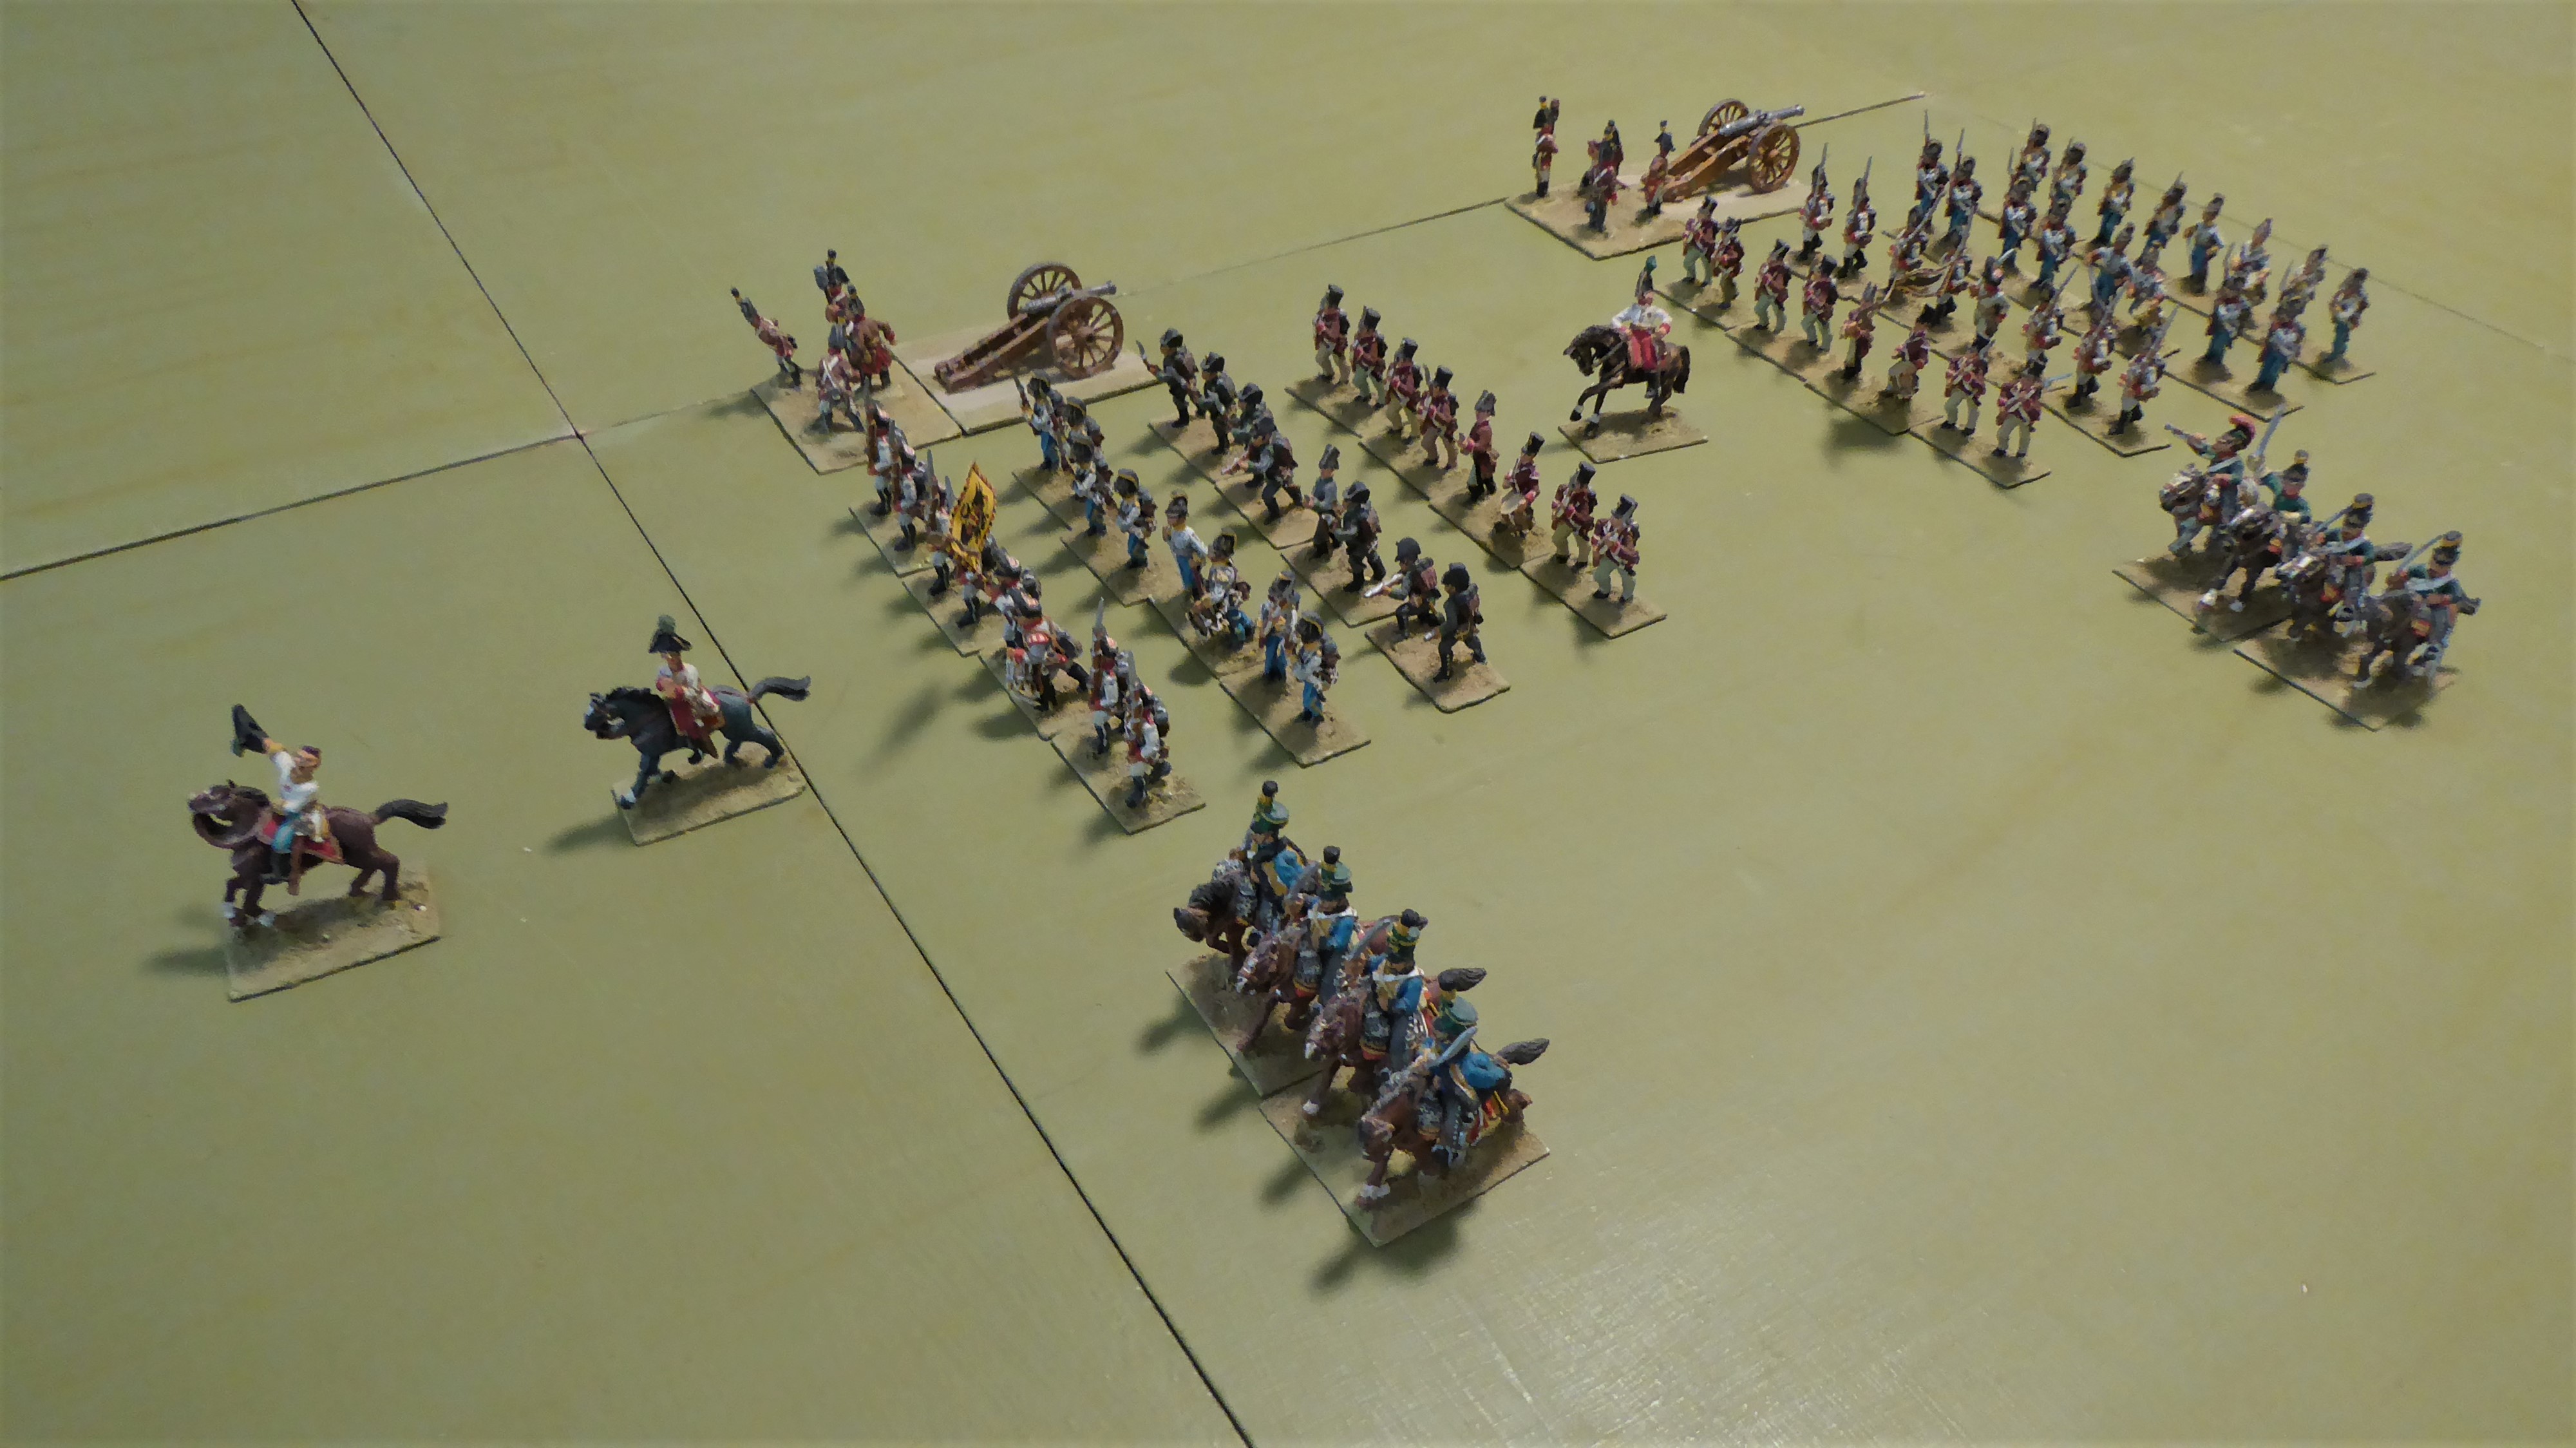
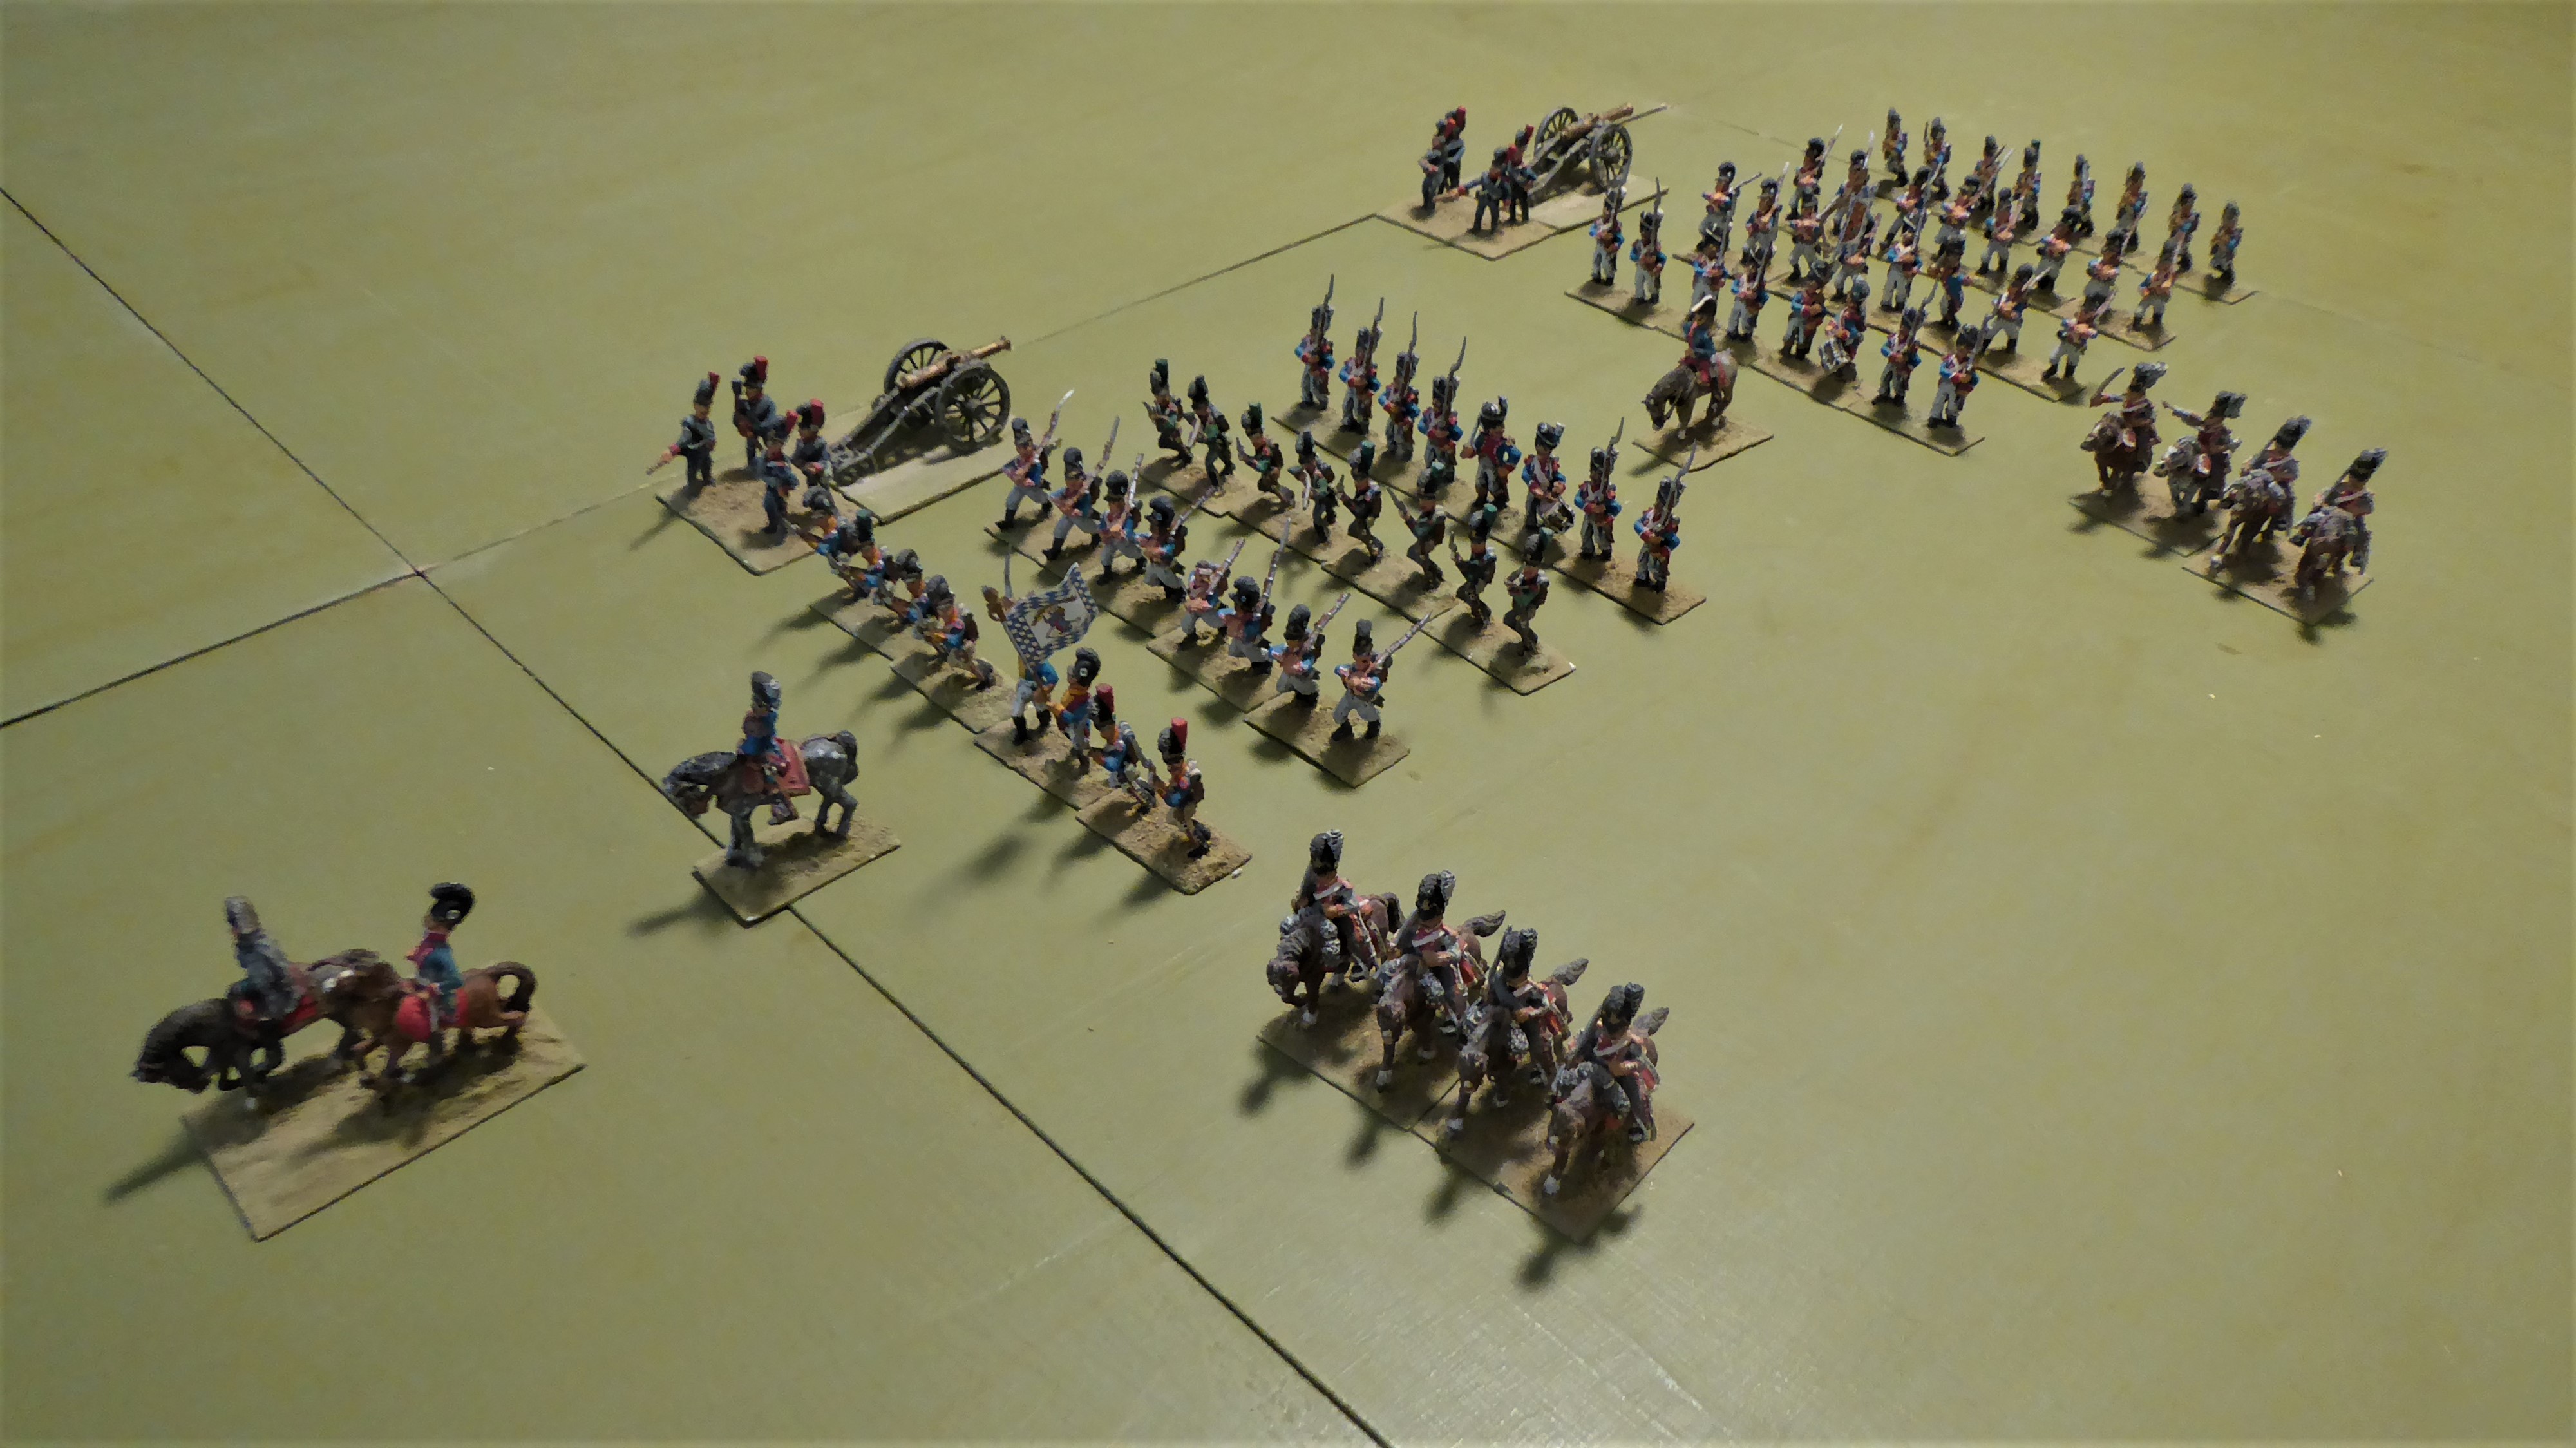
This is an example of the new two corps organisation.    Each corps has four infantry and one cavalry brigade, plus corps artillery.    There are two corps in each army.  The Bavarians and Austrians each have three such armies.

Sunday, 4 April 2021

New Order of Battle

The new 6 corps armies have worked so well in the Valladolid campaign that I have decided to replace the previous 4 corps permanently.   Consequently I have rewritten the orders of battle for all ten armies, and photographed the new 6 corps armies.

Each of the previous ten armies are now army groups, though this is not a recognised Napoleonic formation.   So instead they will be called “French Army of North Germany” for example.  

Each army group will consist of three armies, each of two corps.   The next campaign phase will be set in southern Germany.   The two army groups are:


7th Bavarian Army.

9th Bavarian corps

10th Bavarian corps


8th Bavarian Army

11th Bavarian corps

12th Baden corps


9th French Army

17th French corps

18th French corps


1st Austrian Army

1st Austrian corps

2nd Austrian corps


2nd Austrian Army

3rd Austrian corps

4th Austrian corps


3rd Austrian Army

5th Austrian corps

6th Austrian corps

If you would like more information you will find the full order of battle, plus photographs, of all ten armies on the Campaign Diary Blog here http://1813pbemcampaigndiary.blogspot.com.es/

Sunday, 28 March 2021

Maintaining the Balance – Cavalry and Infantry


Mixed infantry and cavalry melee

I have always found that getting the balance right between infantry and cavalry is very difficult to achieve in wargame rules.   I found that in most rules the cavalry were too powerful, and the only infantry defence was to form square.   The cavalry were then doomed to defeat if they dared to attack.

This is all part of the wider balance between infantry, cavalry and artillery.   I believe that each should have some disadvantages to balance their obvious strengths.

My wargame rules are very much fast play, and I want to achieve a clear result within a maximum of 12 moves.   To this end I have opted to rely more than usual on the luck of the dice.   I have stuck with the more limited 6 sided, rather than the wider range of options available with 10 sided dice.

I have also gone for morale and combat tables.  They allow me to reward better quality troops, supports and full strength.   They also punish casualties, low quality troops and isolated formations too far from their commander and without support.

But, for me, the joy of winning a melee with conscripts because I rolled high dice makes each wargame different and unpredictable.   It also rewards a bold general who is prepared to make a bold move against the odds.  

It is not unusual to start move 11 or 12 facing certain defeat.   Then a lucky dice throw routs one enemy brigade, and their supports who have casualties must then test their morale and also fail.   For me the chance of such reversals are what makes a memorable wargame.    I appreciate that for some players this would be unacceptable because the chances of it happening in “real life” are indeed very slim.   But as the great Donald Featherstone, who fought in WW2, remarked in one of his books “it is a warGAME”.   Anyone who believes that we can achieve more than a passing resemblance to historical warfare on a wargames table is searching for the Holy Grail.   Those of you who have served in the military will recognise, and appreciate, the adage that the best laid plans are often abandoned when the first shot is fired.

So how to balance infantry, cavalry and artillery?   In my rules all combat are one brigade to one brigade.   Artillery have a slight advantage over cavalry.  But if the cavalry are allowed to charge home the gunners rout with 20% casualties.   An infantry attack on artillery is almost sure to fail.   Equally one infantry brigade will lose against one cavalry brigade, unless the infantry are in square.

With this type of balance the attacker must secure an advantage before he sends his infantry forward.  Because almost all games are decided by the infantry, as almost all battles were in real life.  

If the attacker can defeat the enemy cavalry early in the game, he will have an immense advantage.   However if his own cavalry are broken he will be unable to attack at all.   So early artillery fire is usually concentrated on the enemy cavalry.   If they manage a hit their own cavalry can advance with confidence to finish them off.

However cavalry v infantry is one of the most difficult to balance.   In my early games I relied on the infantry forming square, and cavalry are not allowed to charge a formed square.  So there is no chance of a lucky dice allowing the cavalry to break a square.   However a square which suffers just one casualty is disordered, and does not count as a square for the remainder of that move.

One of my recent rule changes is to allow an infantry brigade to count support in a cavalry v infantry melee.   They get plus one for each formed infantry brigade within 4”.   Heavy cavalry gets plus two in melee.   So three infantry brigades advancing in close support would overcome this advantage.   In such a melee neither side would have an advantage, and the result would be down to the luck of the dice.

We are fortunate to be able to wargame most days.   The advantage of this is that we both have a real understanding of the rules.   The disadvantage is that neither of us often make a serious mistake which then allows the other to win.   That is why we rely on the luck of the dice.   It is the only way we can keep our games fresh and enjoyable.   Winning is not a great driver for either of us.   Enjoying the game is much more important