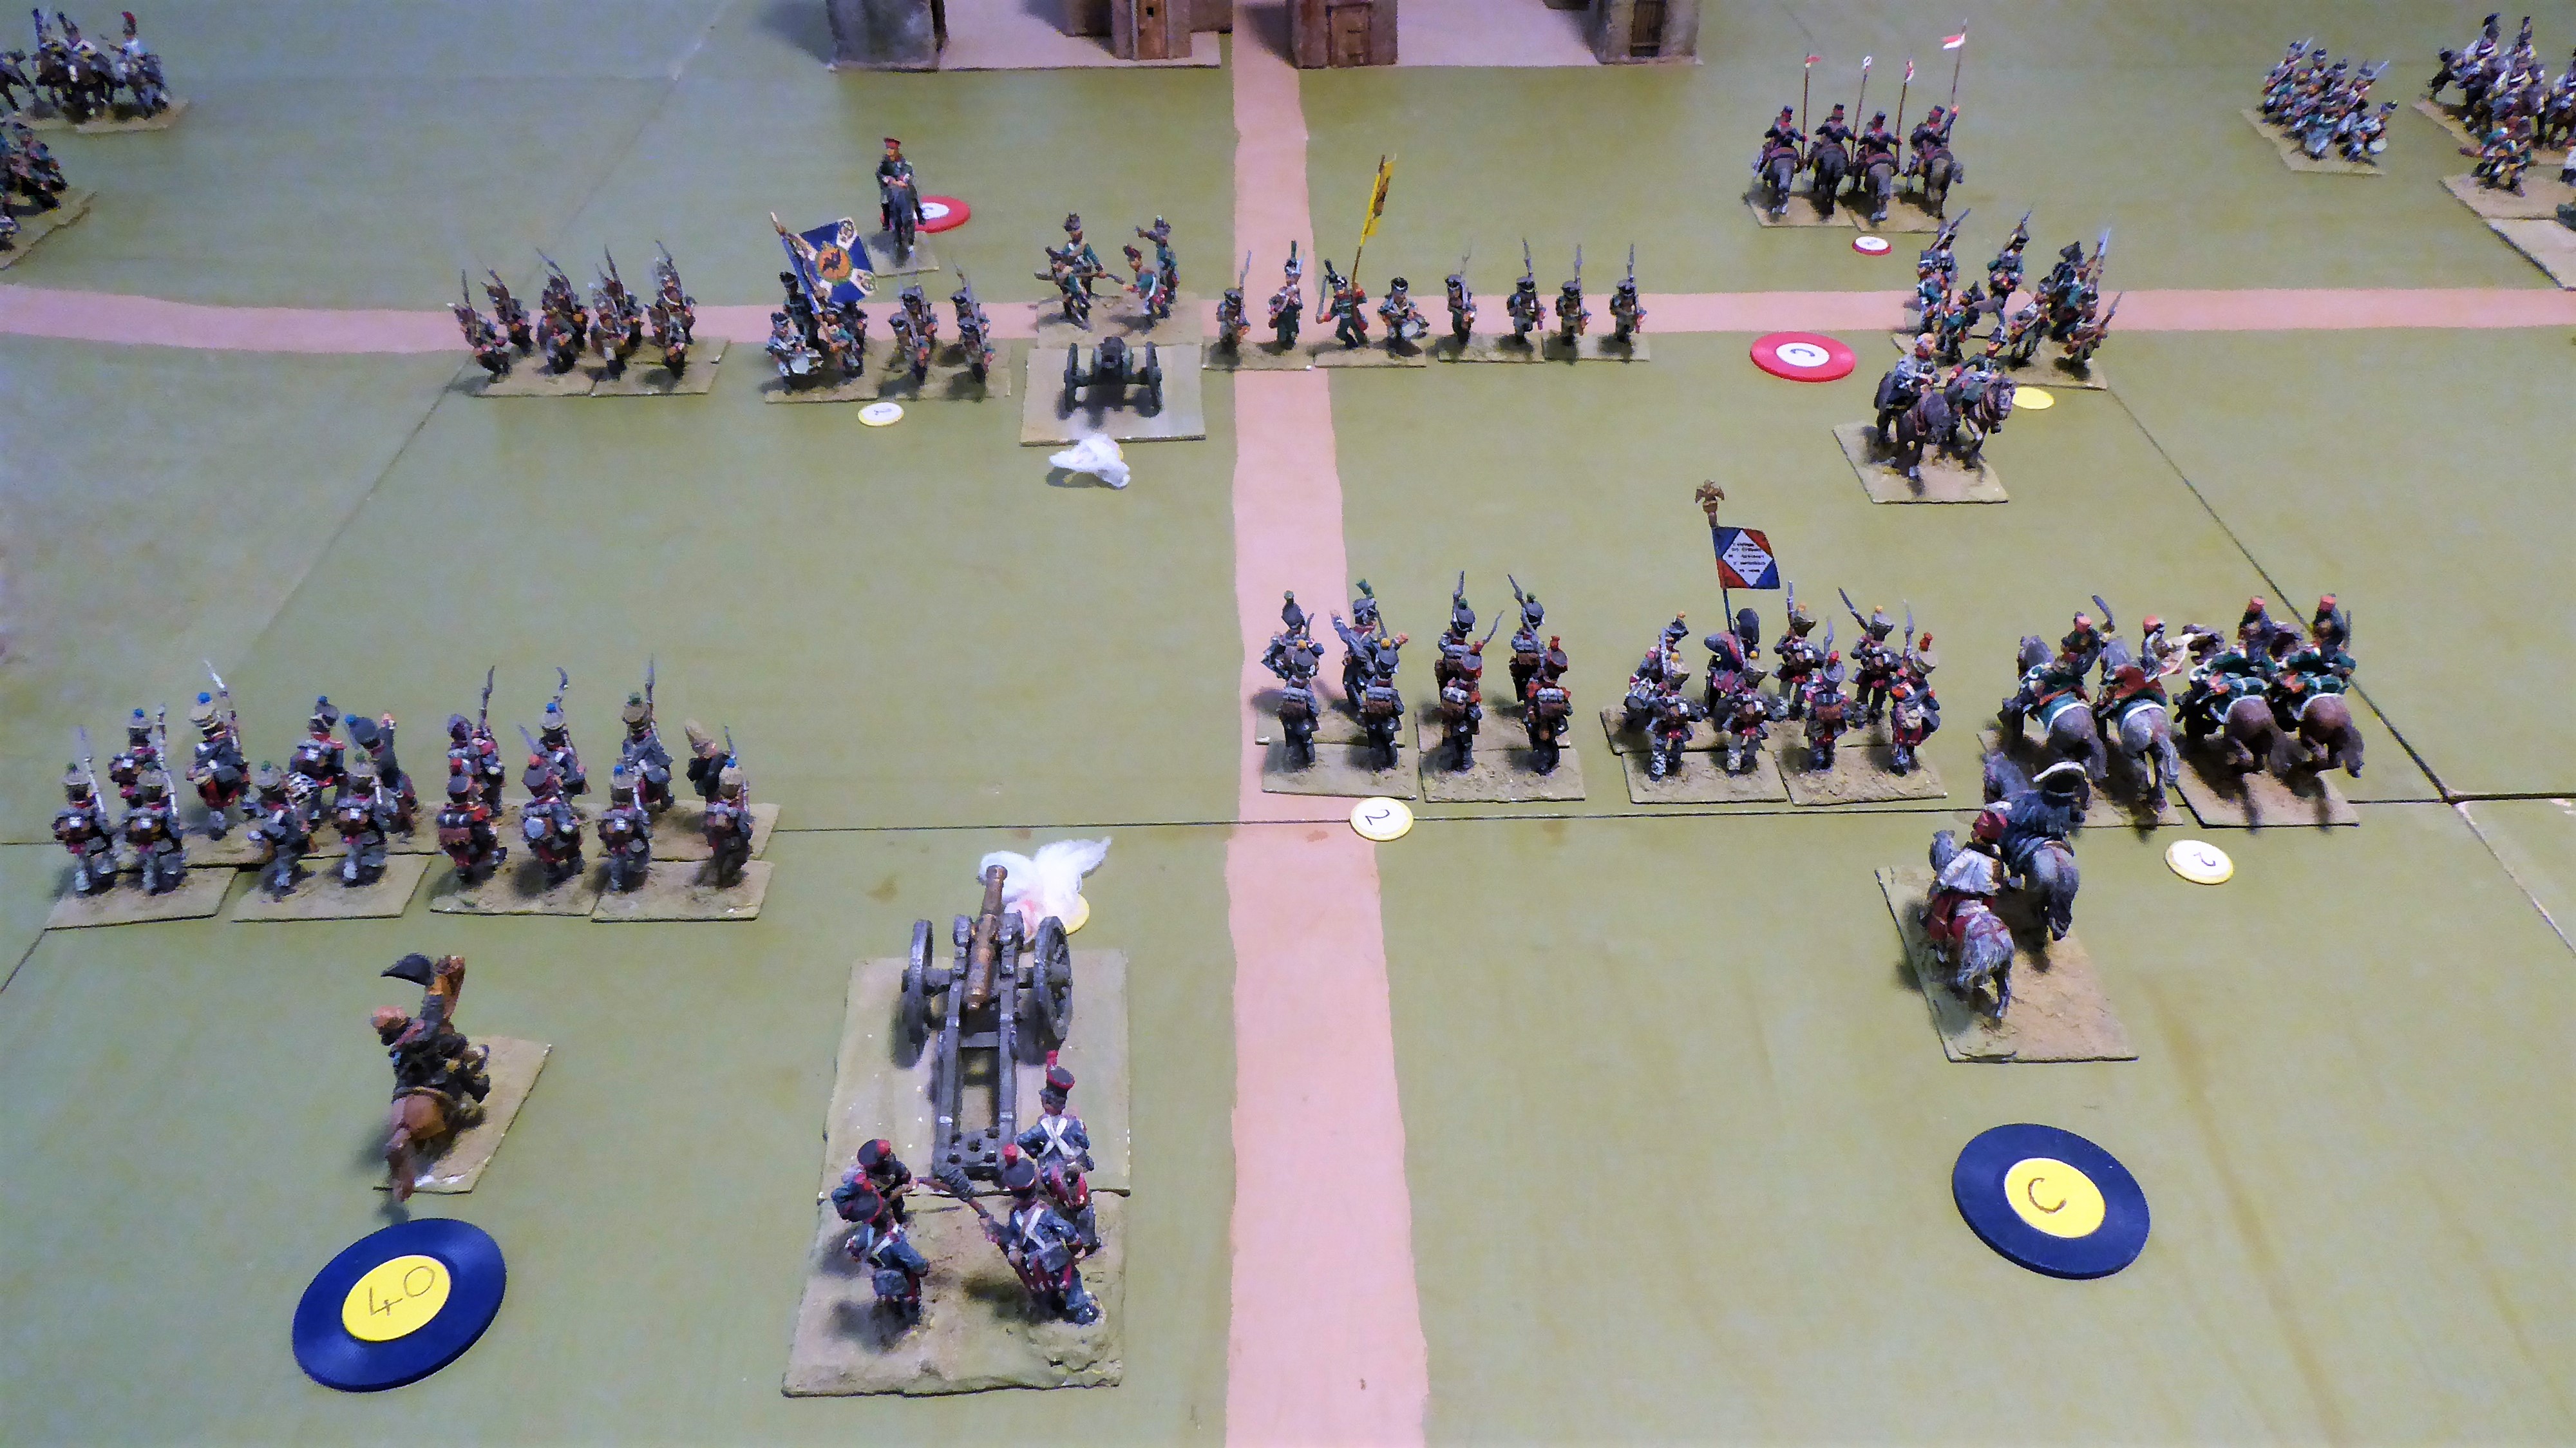
Sunday, 25 June 2023

Wargame Rules Review – Fourth Wargame


Start of wargame

Another open battlefield, but with woods on both Russian flanks

This type of terrain gives an advantage to the defenders

Especially in this game, when the Russians have less cavalry than the French

Russians are deployed in the middle of the table

French will arrive at the bottom at the start of move 1

Both armies start the game with medium casualties

This means brittle morale for both sides


The Russian CinC has taken command of both cavalry brigades

However they are both Cossack and one has 10% casualties

He had kept them in reserve in the centre


The Russian artillery are superior to the French

They have two 12 pounder batteries, which add plus one when firing

None start with casualties

End of wargame


French have three cavalry brigades to Russian two brigades

They are also better quality.

However they have only one 12 pounder artillery battery

Two of the three batteries start with 10% casualties


As the French advance they come within range of the Russian guns

However the Russian gunners roll very low dice, and fail to inflict any casualties

The French artillery open fire, but the infantry and cavalry remain out of range.


The Russian infantry withdraw to the second line of woods, to avoid artillery fire

This allows the infantry to advance on both flanks

However they must weaken the Russian artillery before the centre can advance


The Russian cavalry advance to support the centre

The French artillery on the right cause 10% damage to the Russian gunners

They fail morale and are shaken

Worse still the Russian cavalry are less than 4” behind, and also lose casualties

They fail their morale and rout.


The French cavalry advance in the centre, the Russians fail to inflict casualties

The cavalry charge and the gunners seek safety with the nearby infantry


All three Russian artillery and cavalry are all now out of action

This allows the French infantry in the centre to advance

The Russians start to withdraw towards the town, leaving their artillery behind


Comments

This game has highlighted the increased importance of the dice roll

The Russians rolled low for both artillery fire and morale tests

Morale was already low due to previous battle casualties

Five French brigades, and six Russian, started the game with 10% casualties

This meant a minus 1 on each combat or morale throw.


The Russians should have won this game.

They had more infantry

They had better artillery

They had a strong defensive position


The French had more, and better, cavalry

But they also had battle casualties and hence brittle morale

So they did not dare to risk the Russian artillery in the centre

The flank attacks would almost certainly take too long

Particularly as the Russian infantry withdrew rather than risk a fight


The game was decided by a particularly good French dice throw (a six)

And two particularly poor Russian throws (a one and a two)


It could just as easily have gone the other way, and the French lost


This is the result I was looking for when I changed the rules

Neither side made any tactical errors

Without the dice the game would almost certainly have ended in a draw

Sunday, 18 June 2023

Wargame Rules Review – Third Wargame


Start of wargame

Much more open battlefield, though both sides have obstacles and strong points

This type of terrain is not much of an advantage to either side

Russians are on the right, French on the left.

Both armies start the game without casualties


All three French corps have orders to advance, but the main attack will be in the centre

The French CinC starts the game without any brigades under command

But he is well placed centre rear to take control, or add support, as required.


The Russian flanks are secure, but the centre is thinly spread

The CinC has not taken brigades from the flanks to strengthen the centre

End of wargame

The heaviest fighting has been in the north, and both sides have suffered heavy casualties

At nightfall the French have taken the village and routed 2nd Russian corps


Fighting still continues at nightfall; however the French have the advantage


The Russians have counter attacked in the south, but the fighting is undecided

They still hold the woods, but the French hold the fortified farm


At the end of 12 moves the French have lost 5 infantry, 5 cavalry and 5 gunners

They also have four brigades in rout

The Russians have lost 15 infantry, 5 cavalry and 1 gunner

They have eight brigades in rout

The Russians are still fighting, and they still hold the town

So they can claim a victory

But it is hard to see how they can continue to hold once the French have regrouped


This was a much faster flowing wargame, and we are both enjoying the new rules


The Russian artillery are better than the French (plus 1) and battered the French gunners

They require 5 or 6 for a hit, and managed to rout all three French corps artillery

They have the advantage that they fire first, as the French advance and unlimber

And they managed to throw very good dice at this critical time

The French gunners managed to throw particularly poor dice, which did not help


Cavalry melee are similar to our previous rules.

Unless they roll a one or a six, both sides suffer 10% casualties

Brigades are shaken or routed quite easily, but they also rally more often


Infantry combat are much more interesting

They can skirmish, volley fire or melee

We both check carefully how good each brigade is at each type of combat

The Russians are poor at skirmish, but average at volley or melee

The French are much better at skirmish, and tend to hold back to use this advantage

An infantry brigade can move a maximum of 6” each move

Skirmish range is 4” and volley range 2”

They can advance half a move and skirmish or volley, providing they are in range


The advantage lay with the Russians for most of this game

However in the last three moves it moved to the French

This was enough to break the Russians in the north

But not in the centre or south, where they continued to fight at nightfall


After three games we are both finding how best to use the new rules

We draw a poker chip to decide the sequence of movement for each corps

And whilst learning the rules we both discuss options for the corps moving

This helps us both to consider how best to use each corps

It also helps us both to learn the new rules


For the first time it felt like a proper wargame, rather than a rule learning process.

Sunday, 11 June 2023

Wargame Rules Review – Second Wargame


Start of wargame

A completely different type of battlefield for the second game

The Russians are on the right, the French on the left

The Russians occupy a line of hill in front of the town of Kulmbach


The French guns can fire at any troops on the hills, providing they are within long range (12”)

However if the Russians are not lining the edge the French gunners require 5 or 6 with 1D6


The Russian CinC has taken command of infantry, cavalry and artillery from 5th corps

The French CinC does not have any brigades under command at the start of the game

End of wargame

The French have taken the northern hill and north half of pass

The Russians still hold south half of pass and have routed the French in the south

Blue stars indicate French brigades in rout, Green are Russian brigades in rout


The cavalry on both sides have taken a hammering

Only one French brigade (in the centre) and one Russian (at the bottom) remain

This is because the rules make it easy for cavalry to continue melee for two or three rounds

They usually continue until one sides has 30% casualties, which is an automatic rout


Brigades rout easier in these rules, but they also rally easier

So a retreating corps can often rally brigades and turn to fight again

To rally requires 3-6 with 1D6

A routed brigade with two casualties is minus 4

Having a commander and a formed brigade within 4” adds 2


The artillery did not play a significant role in this game

At long range (5-12”) they require 4-6 to hit cavalry, and 3-6 to hit infantry)

In this game they rolled a lot of low dice


I am particularly pleased with infantry v infantry combat

An infantry column can move up to 8”

If they wish to skirmish or volley fire it takes half a move

Skirmish range is 4”, musket volley range is 2”

An attacking infantry column must decide whether to skirmish, volley fire or melee

It will usually depend on their ability at each type of combat

Infantry brigades are A, B or C for skirmish, volley fire or morale (melee)

An A brigade gets plus 1, a C gets minus 1

A light infantry brigade would be B for morale, C for volley fire and A for skirmish]

They are most likely to skirmish and would need 3-6 for a hit.


Both games have been slower than usual as we have to learn the rules as we play

We usually only manage one move in half an hour, previously it would have been two moves.


Despite this we have been very pleased with the new rules

It may well be our age, but we find it much harder to remember new rules than we did 15 years ago!

Sunday, 4 June 2023

Wargame Rules Review – First Wargame


Start of wargame


The only way to really test the rules is to play a full length wargame.


The two armies started off 18” apart; this was well out of maximum artillery range which is 12”.


Counter artillery fire should have been ineffective, as the firer needs a roll of 6 on 1D6.   12 pounder guns add plus 1, 6 pounder guns minus 1.   Two of the three Russian guns are 12 pdr, so they had a considerable advantage.   They put it to good use by causing 3 casualties to the French gunners.   This allowed the Russian guns to dominate the game.

In the north the Russian gunners prevented a frontal attack by the Polish corps.  Instead they had to concentrate on the farm, and failed to take it by nightfall

In the centre the French cavalry won the opening melee and allowed their infantry to take the woods and break the Russian centre.   We tested skirmish, musket and infantry melee rules, all worked well.   All gave a much faster and cleaner out come.

In the south the Vistula lancers lost their melee, but their artillery drove off the Russian cuirassiers.   The artillery was ineffective on the woods, and the fighting was mostly infantry skirmish and melee.  Again the rules worked well.

By the end of move 8 the Russians had lost 12 infantry and 4 cavalry, and five brigades were in rout.   The French had lost 2 infantry, 2 cavalry and 3 artillery casualties and had one brigade in rout.

With four moves still to go the French had clearly won the battle.   The Russians still held their right flank and the town.   But they had lost their centre and left flank.

It is still early days, but I am very pleased with this first game using the new rules.   They are much easier to remember, having only 1D2 instead of 2D6.   This does give extreme results with 1 or 6, but that is what I wanted to achieve.

It is also easier to rally shaken or routed brigades.   This is a good thing, because it allows the losing side to rally a second defensive line.   But in this particular game the Russian casualties were so much greater than the French that the winner was obvious.

Brigades defending farms or woods tended to do better than with my previous rules.   This was largely because it was so much easier to rally them when casualties were received.  It was also because Jan used her three elite grenadier brigades to hold the farm and both woods.   I only took them because I had taken care to position my best skirmish brigades to lead the attack.   In both wooded sections this worked.   However both elite defenders and most effective skirmishers took casualties.   So it will be interesting to see how both perform in the next game.   Both will retain at least 10% casualties, which will reduce the elite grenadiers to trained troops.  And the A class skirmish brigades will be reduced to B class.  

End of wargame 

The Russians hold at the top, but are in retreat in the centre and bottom


White stars indicate where fighting has taken place during the last two moves.  

Green stars indicate Russian brigades in rout

Blue stars indicate French brigades in rout

Sunday, 28 May 2023

Wargame Rules Review – Build Up Areas


In my campaign wargames there are three types of build up area (BUA).

A city is four scenic squares

A town is two scenic squares

A village, farm or fortified building is one scenic square

Each scenic square contains one brigade of infantry.

All of the campaign games involve either a city or town, because that is always the campaign objective.   The BUA is always occupied with the defending army deployed either side or in the square in front. It is very unusual for the attacking army to have sufficient time in the maximum 12 moves to actually take and hold the BUA.  

In future the town or city will always occupy the three squares nearest to the defending player.   The defending army will deploy in the three squares in the middle of the table.   The attacking army in the three squares nearest to the attacking player.    The battle will be decided in the centre three squares.   If the defender loses he will retreat and abandon the town or city.

This leaves villages, farms or fortified buildings.   Each will hold a maximum of one infantry brigade.   In the practice game I have only used infantry, cavalry or artillery would make it much more complicated.  I wanted to determine whether it is possible for an equal number of infantry to capture a BUA.

In the practice game four Baden infantry brigades attack a farm defended by four Russian infantry brigades.  The elite Russian grenadier brigade is the garrison of the farm.   Two conscript brigades are deployed either side and a trained brigade is in reserve behind.

Only one brigade can attack each side of the BUA.   And it soon became obvious that such an attack was doomed to failure.   The Russians have plus 2 for defending and plus 1 for elite.  

To decide the outcome of a melee 1D6 is rolled.   Combat factors are added or deducted, particularly the ones quoted above.

1or less – winner 20% casualties

2, 3, 4 or 5 – both suffer 10% casualties

6 or more – loser 20% casualties

It soon became obvious that one brigade would be very unlikely to succeed.    If the attacker could attack two or three sides at once his chances greatly improved.  But to do so he would have to defeat the supporting brigades either side of the BUA.

The best plan was to pin the garrison with the two conscript Baden brigades, and attack the Russian supporting brigades with the elite and trained Baden brigades.   When the Russian reserve was committed one of the four Baden brigades would engage them.  The remaining three Baden brigades, including the elite and trained brigades, would concentrate on the BUA.

All would still depend on the luck of the dice (as always).   And in a normal game cavalry and artillery would also play a part.   This would make it much more difficult for the attackers.   First they would have to win the cavalry melee.  Then they would have to inflict at least one casualty on the garrison, whilst avoiding the enemy artillery.  

I also found that skirmish fire would play a more important part in attacking a BUA.  Once more it would be decided by 1D6.   Trained attackers and defenders would both need 5 or 6 for a hit.   Conscripts of those with 10% casualties would need 6.   So skirmish fire was unlikely to be enough on its own, but it could play a significant part.

The new rules seem to be working well so far.  It is now time to play full wargames and put them to the real test.

Sunday, 21 May 2023

Wargame Rules Review - Hills


Some rules are more difficult to write than others.   Defending and attacking hills is one of them.   In particular how to attack infantry which have been positioned behind the crest.  This was a favourite tactic of Wellington, and proved very effective.  It protected the defenders from artillery fire.   It also provided a tactical shock to attacking infantry when they suddenly found them deployed and ready to fire when they finally reached the crest of the hill.

I have often wondered why this tactic was not used by many more commanders during the Napoleonic Wars.   I think Blucher’s comment just before the start of the battle of Ligny may provide the answer.    Wellington had joined Blucher to coordinate their strategy for the Waterloo campaign.   He commented that the Prussian infantry were very exposed on the forward slope of a nearby hill.   Blucher replied “my lads like to see the enemy”, or words to that effect.  

I suspect what he was really saying was that he could not trust his infantry to hold their ground behind the crest as the shouts of massed infantry columns approached out of sight below the hill. 

I translate this to my rules by having a morale test for infantry hidden behind the crest.   When the attacking infantry come within 4” they must roll a 1D6.   British require 4, 5 or 6.   All other nations require 5 or 6.

I have never been completely happy with this rule.  I wanted something which reflected the overall morale of the defending infantry, such as a normal morale test. 

This test game used only infantry and artillery, cavalry were an unnecessary distraction.   There are four infantry brigades per side.   All are different combinations of class, musket and skirmish ability.

The photo shows the initial deployment.   Attacking French are all in column of attack, with the artillery in the centre.  Defending Russians have two brigades on the hill and two in reserve.   The white card template shows the range of the Russian artillery.   On a hill they are unable to angle their guns, so can only fire along this narrow corridor.

The French artillery can redeploy.    They can fire on any infantry on the hill, providing that they are close enough.  They roll 1D6 and require 5 or 6 at long range, the same as firing on towns or woods.   The Russian gunners require 3, 4, 5 or 6

Once more we used a dice roll of 3 for all combat and morale tests.  This was to see how an attack would work, without the “luck of the dice”.   It is a good way to get used to the new combat and morale factors.  It is also very boring.

So how did the attack go?

The Russian gunners concentrated on the brigade to the right of the French guns.   They caused 20% casualties, leaving the brigade shaken, and therefore unable to initiate an attack.

The French gunners concentrated on the brigade to the right of the Russian guns.  They were less successful, only managed 10% casualties and the Russian infantry passed their morale test.

It was necessary to maintain a wide gap between the two groups of French infantry to allow their artillery to continue to fire as the infantry approached the hill.

As the French infantry approached the Russian infantry on the hill deployed into line, which is more effective for firepower.   The left hand reserve brigade moved forward to the left of the hill.   The right hand brigade formed column of attack and moved up closer to the right hand brigade on the hill.

The right hand French brigade was an elite unit.   They moved to the left of the hill and attacked the left hand Russian brigade, which was conscript.  They won the melee and routed the Russian brigade.

The left hand Russian brigade on the hill was an elite grenadier brigade.   They formed left and charged the French brigade.   The melee between two elite brigades, with both rolling 3, was a draw.  Both eventually lost 20% casualties, both were non effective.

So the battle for the hill was decided by the Russian brigade on the right.  They were B class infantry (veterans).  The two attacking French brigades were conscript.   The Russians routed one of the French brigades, but themselves lost 20% casualties.   The remaining French brigade deployed into line and routed them.  The reserve Russian brigade passed their morale test as the routed infantry broke through them.   They then exchanged fire with the last French brigade, who now had 20% casualties, won the firefight and routed them.

The Russians held the hill.

But had we used normal dice rolls the combat could easily have gone either way.  This is exactly what I wanted to achieve.  So I am very satisfied with this first test play.

Next week attacking a town or farm.

Sunday, 14 May 2023

Wargame Rules Review - Combat


This week I have play tested normal combat, which should be the easiest of the three situations.

Each side has one corps commander, four infantry brigades, one cavalry brigade and corps artillery.   Each side also has the commander in chief.   Normally he would have to supervise three corps, but I wanted to see just how useful he would be.   Each CinC has taken command of half of a corps.

I still use poker chips to identify each commander.   I also use them to decide the sequence of play.   A duplicate chip for each commander is placed in a bag.   One if drawn and that commander is activated.   So in this test game there were four chips, one for each CinC and one for each corps commander.

The sequence of play for each commander is

Command – rally disordered brigades and issue orders

Movement

Firing – artillery, skirmish, musket

Melee – cavalry and infantry combat

Morale – test for any brigade which received casualties or is shaken

The French were attacking.   They were deployed just outside of artillery long range.   This ensured that the fighting would commence with the first move.  

Remember that all dice throws were assumed to be a 3.

Long range artillery fire was ineffective against enemy guns, but very effective against infantry.   Each time they fired they achieved a hit.

Morale tests would result in a pass for one casualty, but fail for two.  However by ensuring that there was a formed brigade within 4”, and also a general within 4” meant that a brigade with two casualties would also pass their morale test.

The C class Cossacks charged the B class dragoons.   The first round of melee was a draw, but the second was won by the dragoons.   The Cossacks routed with 20% casualties, the dragoons were shaken with 20% casualties.

Infantry combat is more complicated.   A column of attack can move 6”.   Or it can move 3” and deploy into line.   Or 3” and volley fire.   Or it can skirmish without any movement penalty.   Skirmish range is 4”, musket range 2”.   Depending on the class, skirmish ability and musket ability the method of attack can be chosen.   If the combat is one brigade on one, a line is much more effective than a column.  However two brigade columns against one brigade in line is far more effective.   The choices are easy to understand, and add a new decision making requirement to infantry combat.  The play test proved that a brigade with better combat ability always won in melee or firing. 

I would say that this play test achieved the first requirement.   The balance was right; the difference would be the 1D6.   This is what I wanted to achieve.

So far, so good